I was going to make this recipe and put the photos of each step on here, but decided against it since it's a very rich dessert, and I'd end up eating it in a day or two, going thru many sugar highs - so I'll forego the photos.
This pudding is a recipe from the cookbook - A Family Raised on Sunshine by Beverly Nye. She says in the cookbook that she makes this recipe on days when she's feeling a bit depressed, and it picks her mood right up.
Down-in-the-Dumps Pudding
Beat together:
2 cups flour
1 1/2 cups sugar
4 tsp baking powder
1/2 tsp salt
4 tblsp cocoa
Stir in:
1 cup milk
4 tblsp vegetable oil
2 cups chopped nuts
Spread mixture in ungreased 9 x 13 in pan
Blend in a small bowl:
2 cups brown sugar (packed)
1/2 cup cocoa
Sprinkle over top of batter
Pour over all: 3 cups hot water. Bake at 350 degrees for 45 minutes
This turns out like a pudding cake and is extremely rich and decadent. I hope you enjoy this recipe
Take care All, and have a blessed Sunday, from KY
About Me

- Kathy in KY
- Fayette Co, KY, United States
- I am a country girl stuck in the city, for the time-being. I enjoy the country way of life, and practice that in my home as best I can by canning and preserving foods, cooking and baking from scratch, crocheting, living vicariously thru the many blogs I follow about country life. I enjoy learning about raising livestock, and glean from my past employment and personal experiences of working with animals to fuel some of my postings. I have 5 cats, who keep my life interesting. And I am also an amateur poet. Thanks for stopping by and checking out this Farmer-gal who is caught in town, for now.
Showing posts with label recipe. Show all posts
Showing posts with label recipe. Show all posts
Sunday, July 25, 2010
Saturday, July 10, 2010
Recipe - Blueberry Dump Cake
I have Barbara over at Barbara's Bakin' N Bits to thank for this recipe. It's very easy to make.
First, gather your ingredients

In a 9 x 13 inch baking pan, spread the crushed pineapple

Layer the blueberries over the crushed pineapple

Sprinkle sugar over the top of the blueberries

Spread the dry cake mix over the sugar, blueberries, and pineapple

Drizzle melted butter over the top of the dry cake mix

Top with chopped nuts and bake at 350 degrees for 45 minutes

Let cool to room temperature and serve

I was thinking that vanilla ice cream would be good over this.
It's like an easy cobbler.
Here is the recipe.
Blueberry Dump Cake
1 large can of crushed pineapple, do not drain
3 cups of fresh blueberries, if using frozen blueberries - thaw first
3/4 cup of sugar
1 regular box of yellow cake mix
1/2 cup melted butter
1 cup chopped nuts - pecans or walnuts or whatever you choose
Preheat oven to 350 degrees
Spread undrained crushed pineapple in a 9 x 13 inch baking pan
Place blueberries on top of the crushed pineapple
Sprinkle sugar over the blueberries
Spread dry cake mix over blueberries
Drizzle melted butter over the dry cake mix
Sprinkle chopped nuts on the top
and bake at 350 degrees for 45 minutes
Cool to room temperature and serve
Like I mentioned above, I think that vanilla ice cream would pair well with this recipe. It is a very sweet and rich dessert. It's easy to make. And makes a great dish to take to summer pot luck suppers.
Happy Baking, Everyone, from KY.
Friday, June 25, 2010
Easy No Knead Bread Recipe
Here is a pretty easy recipe for homemade bread
Gather your ingredients first

I warm my mixing bowl with warm to hot tap water so that when I put
the water for the bread in the bowl it won't cool it too much.
I put the hot tap water for the bread in the bowl, add the sugar
and then put in the packet of yeast.

I let the yeast, water, sugar mixture sit for
about 10 minutes so that the yeast will proof,
and then I know that the yeast is still good.
This is what it looks like when it has proofed.

When I make this bread, I make half the recipe
which is two loaves. So I put in 3 cups of flour
and beat on high for about 3 minutes, as it
calls for in the recipe. You can use white or
whole wheat flour. I use whole wheat bread
flour that is coarse ground because I like to have
the texture of the flour in the bread.
It makes it a little chewy.

Then I add the rest of the flour, which is about 3 cups
and beat till it comes together nicely and pulls
a little away from the sides, and I can see the
gluten strands in the dough. It will be a very
moist dough at this point, and that's the way you want it.
I spoon the dough into a greased bread bowl for its first rising.
Before I spoon the dough into the bread bowl, and before
I grease the bowl, I will run some hot water into the bowl
and let it sit a little bit to take the chill off of the bowl
to make the environment optimal for the dough to rise.

And cover it with a flour sack cotton towel.

I let it rise for about 2 hours or so, until it looks
like it's doubled in bulk. I have a hard time getting
a good rise when I use all whole wheat flour,
but I like the whole wheat taste and texture.

Here, I've gotten the two loaf pans ready, and wiped
them with an oiled papertowel on the inside so
that the bread won't stick when baking.

This is the dough divided up between the pans. I just use
a spoon to divide it up evenly between the two until
they look even.

Then cover again with the flour sack towel
and let sit until double in bulk, or about 2 hours.
You can check it periodically to see how it's doing.

This is how it looked after about 2 hours or so,
almost double in bulk. But I don't get a good rise
usually, and maybe these bread pans are too
big for the recipe, and I should try smaller pans.

I put them in a preheated 375 degree oven in the center
of the oven, and bake for 30 minutes or so until
the loaves are nice and brown on top, and when you
tap the tops of the loaves, it sounds kinda hollow inside.
One note - be careful when transfering the bread pans
with the unbaked dough into the oven. The dough is very
wet and spongy, and if you bump the pans it will fall,
and you will have to let it sit and rise again before baking.
I speak from experience! LOL
Take the bread from the pans immediately, and cool on a
wire rack, and cover them with the flour sack towel.

The bread is very airy and light. It makes good toast in the
toaster. And I've also used it for french toast.
You can vary the recipe, and use honey or molasses
for the sweetening agent. You can add raisins
and cinnamon, and sometimes I've added
chopped walnuts or pecans.
And if you use a white flour mixed with the whole
wheat, you may get a pretty good rise on the dough.
Here is the recipe
Easy No Knead Bread - makes 4 loaves
from Beverly Nye's A Family Raised on Sunshine
In large bowl, pour 5 cups warm water. Add 2 pkgs. dry yeast.
When yeast is dissolved, add:
8 tbsp sugar or honey
8 tbsp shortening - I use butter, but any type of shortening or oil would work
8 tsp salt
6 cups flour
Beat on high speed with a mixer for 3 minutes.
Add:
6 more cups of flour
Stir in with spoon. (cover with a clean towel) Let rise. Spoon into pans. (cover with a clean towel) Let rise again. Bake in a preheated oven at 375 degrees for 45 minutes in large pans. (I just bake mine for 30 min, check to see how it's doing at 30 min, and go from there), or 30 minutes in small pans. Take from pans immediately, brush with butter, and let cool on racks. Makes 4 large 9 x 5 loaves or 7 small loaves.
I have a Kitchenaid mixer, so I use it to mix the dough after the first cups of flour are added, and when the second round of flour is added rather than stirring it in with a spoon. Do whatever works best for you. I hope you will try this recipe. I know from the photos it looks a little complicated, but it really isn't, and it's a good go-to recipe when you don't have the time to do a lot of kneading of the dough.
Happy Baking. Take care, All - from KY
Friday, June 4, 2010
Championship Chocolate Chip Bars
I haven't made these for a while, and thought I'd do that today. Here are the steps with pix for Championship Chocolate Chip Bars.
Gather the ingredients - the recipe and directions are below.

 Combine flour and brown sugar, then cut in butter or margarine till crumbly. Add 1/2 cup chocolate chips.

Press this mixture into a 9 x 13 baking dish, and bake in a 350 degree preheated oven for 15 minutes.

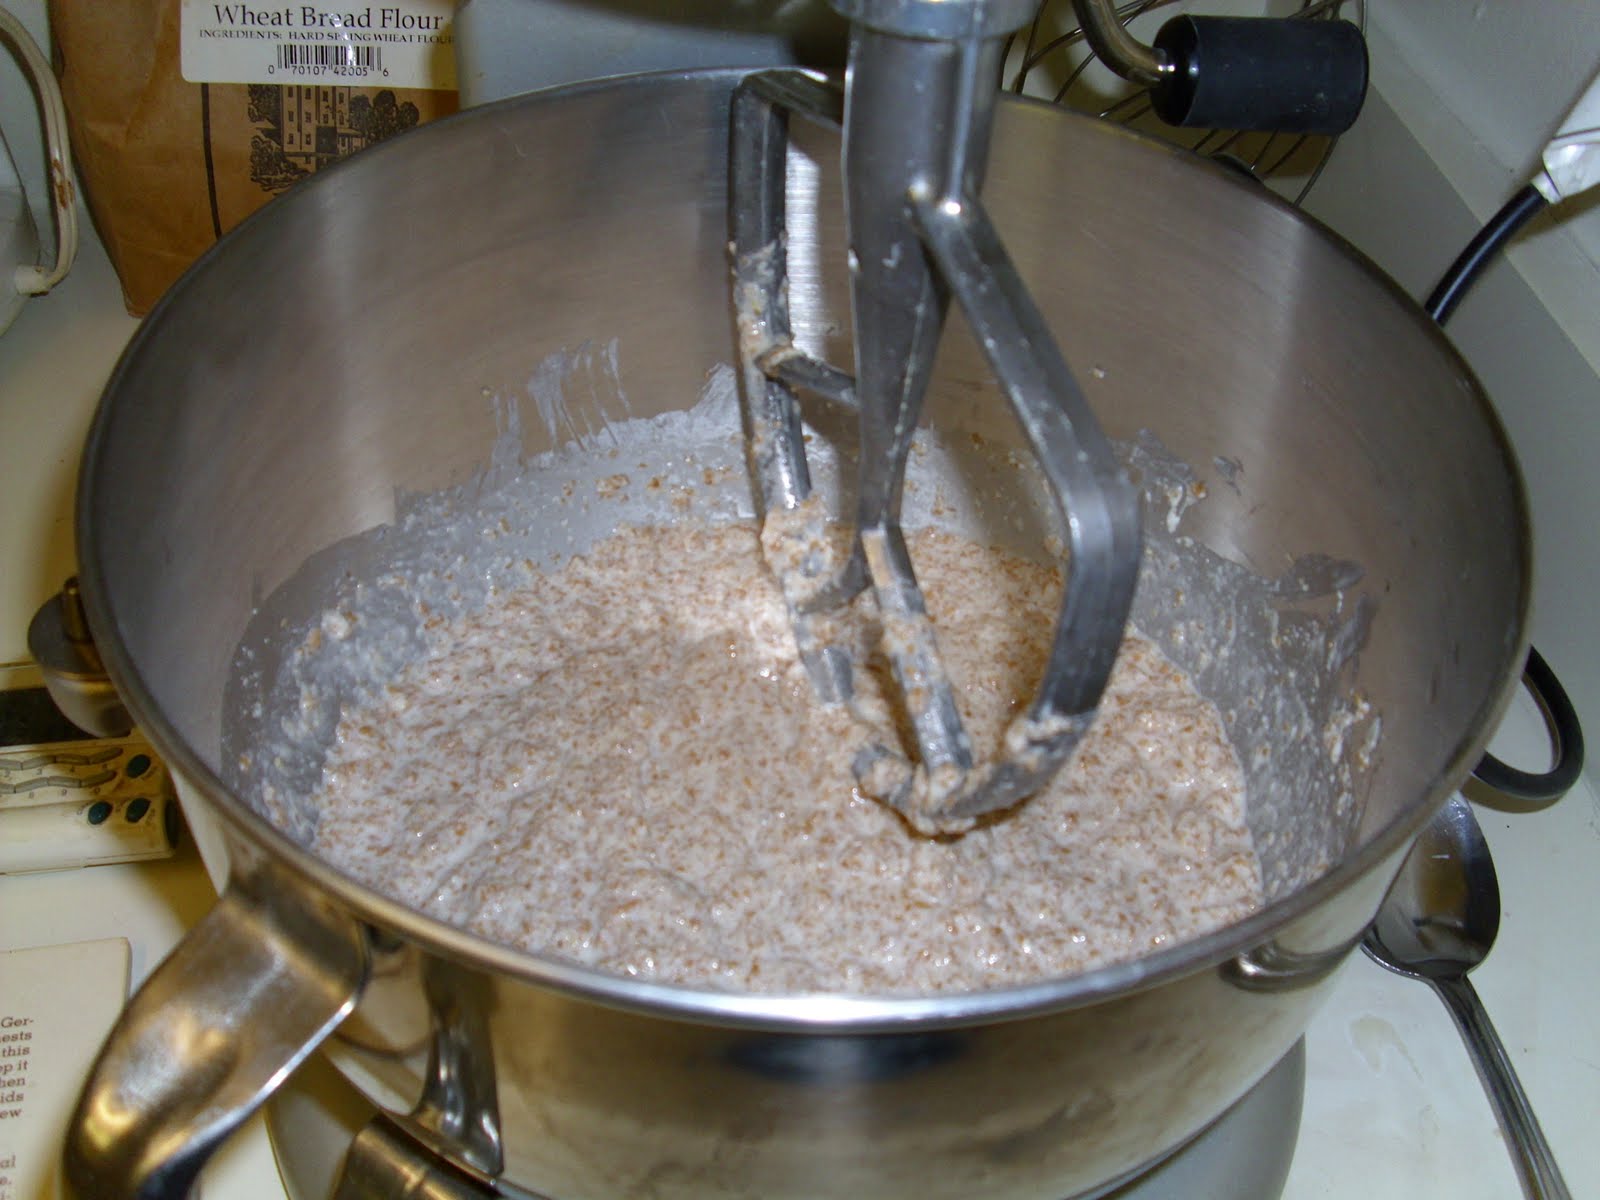
In same bowl, while crust is baking, combine sweetened condensed milk, egg, vanilla.
Mix in the rest of the chocolate chips and chopped nuts.


This is what it looks like when it's all mixed together.

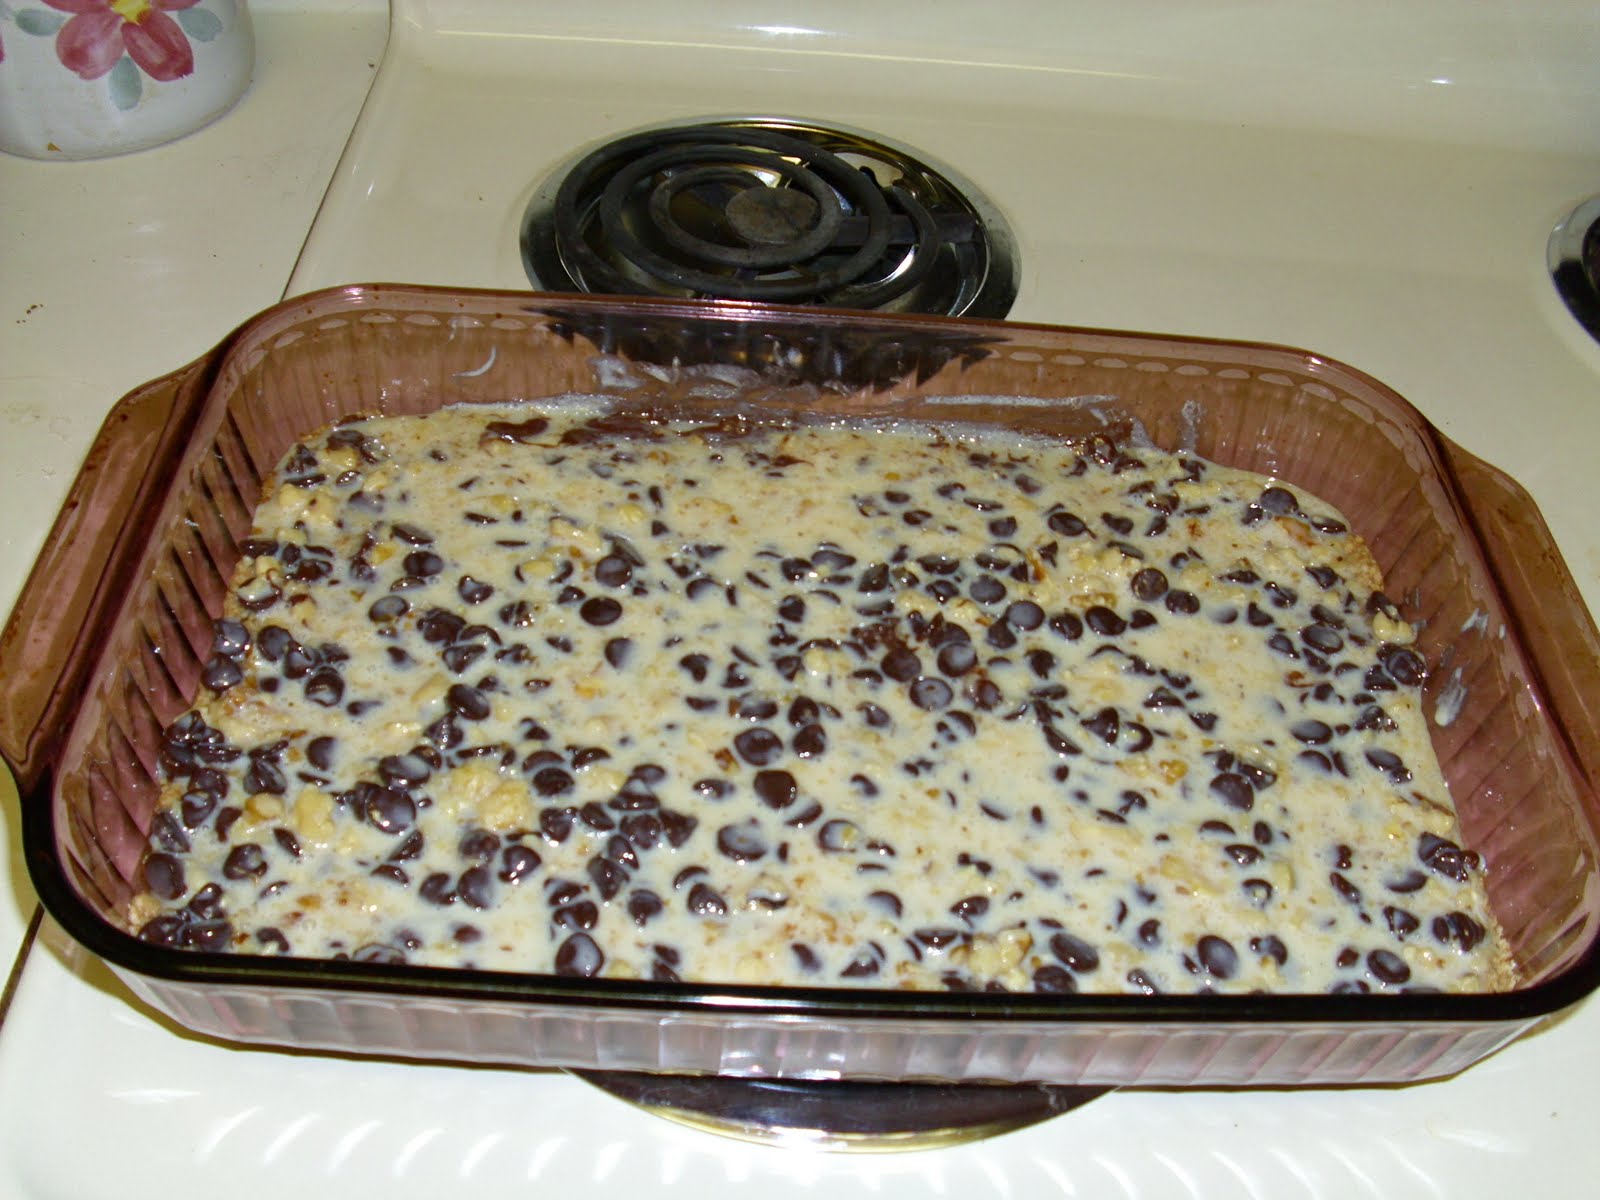
When crust is done baking, spread mixture over crust, and bake for 20 to 25 minutes, until golden brown.

Let cool to room temperature and cut into squares. Store covered at room temperature.
Below is the recipe with full directions.
Championship Chocolate Chip Bars
makes 24 to 36 bars
1 1/2 cups unsifted flour
1/2 cup firmly packed brown sugar
1/2 cup cold margarine or butter
1-12 oz package semi-sweet chocolate chips
1-14 oz can sweetened condensed milk (not evaporated milk)
1 egg
1 tsp vanilla extract
1 cup chopped nuts
Heat oven to 350 degrees. In medium bowl, combine flour and sugar, cut in margarine until crumbly. Stir in 1/2 cup chips, press firmly to bottom of 13 x 9-inch baking pan. Bake 15 minutes. Meanwhile, in same bowl, combine sweetened condensed milk, egg, and vanilla; stir in remaining 1 1/2 cups chips and the nuts. Spread evenly over prepared crust. Bake 20 to 25 minutes or until light golden brown. Cool completely. Cut into bars. Store covered at room temperature.
Happy Baking
Take care everyone. And have a great weekend.
Gather the ingredients - the recipe and directions are below.


Press this mixture into a 9 x 13 baking dish, and bake in a 350 degree preheated oven for 15 minutes.

In same bowl, while crust is baking, combine sweetened condensed milk, egg, vanilla.
Mix in the rest of the chocolate chips and chopped nuts.


This is what it looks like when it's all mixed together.
When crust is done baking, spread mixture over crust, and bake for 20 to 25 minutes, until golden brown.

Let cool to room temperature and cut into squares. Store covered at room temperature.
Below is the recipe with full directions.
Championship Chocolate Chip Bars
makes 24 to 36 bars
1 1/2 cups unsifted flour
1/2 cup firmly packed brown sugar
1/2 cup cold margarine or butter
1-12 oz package semi-sweet chocolate chips
1-14 oz can sweetened condensed milk (not evaporated milk)
1 egg
1 tsp vanilla extract
1 cup chopped nuts
Heat oven to 350 degrees. In medium bowl, combine flour and sugar, cut in margarine until crumbly. Stir in 1/2 cup chips, press firmly to bottom of 13 x 9-inch baking pan. Bake 15 minutes. Meanwhile, in same bowl, combine sweetened condensed milk, egg, and vanilla; stir in remaining 1 1/2 cups chips and the nuts. Spread evenly over prepared crust. Bake 20 to 25 minutes or until light golden brown. Cool completely. Cut into bars. Store covered at room temperature.
Happy Baking
Take care everyone. And have a great weekend.
Monday, October 12, 2009
Recipe - Quick Walnut Bread
This recipe is by Martha Rose Shulman -- martha-rose-shulman.com
This savory quick bread is easy to make and versatile. Try it lightly toasted for breakfast or tea, or drizzled with a little honey. You may also slice it thin and serve it with cheese.
1 cup whole wheat flour
3/4 cup unbleached all-purpose flour
1 tsp baking powder
1/2 tsp baking soda
3/4 tsp salt
4 eggs
1/2 cup buttermilk or plain yogurt
3 tblsp olive oil
3 tblsp walnut oil
1 cup (3 oz) chopped walnuts
1. Preheat the oven to 375 degrees. Move the rack to the center of the oven. Butter or oil a loaf pan. Sift together the flour, baking powder, baking soda, and salt.
2. Beat the eggs in a large bowl. Whisk in the buttermilk or yogurt and the oils. Quickly whisk in the flour, and fold in the walnuts. Scrape into the bread pan.
3. Bake 50 minutes to one hour, until nicely browned and a tester comes out clean. Remove from the heat, allow to cool for 10 minutes in the pan. Then reverse onto a rack and allow to cool.
Yield: one loaf
Advanced preparation: This bread will keep for a couple of days wrapped airtight. It freezes well.
My note: I'll probably make this in the next day or two, but first need to get some buttermilk or yogurt from the store. I don't have walnut oil, so will probably just use safflower oil since I have it on hand. I'll let you know how it turns out.
Happy Baking!
Tuesday, September 22, 2009
Zucchini Bread
This recipe is by Ashley Christensen http://www.foodandwine.com/recipes/zucchini-bread/
Zucchini Bread
1 1/2 cups all-purpose flour - I used a mix of white and wheat flours
1 tsp cinnamon
1/2 tsp salt
1/2 tsp baking soda
1/8 tsp baking powder
1/2 cup canola oil - I used safflower oil since that was all I had
2 large eggs, lightly beaten
1 cup sugar
1 1/2 tsp pure vanilla extract
1 lb zucchini, coarsely shredded
1. Preheat oven to 375 degrees. Butter an 8 1/2-by-4 inch loaf pan and coat it with sugar. In a large bowl, whisk the flour, cinnamon, salt, baking soda and baking powder. In a medium bowl, whisk the canola oil with the eggs, sugar and vanilla. Add the shredded zucchini. Stir the zucchini batter into the dry ingredients.
2. Pour the zucchini bread batter into the prepared loaf pan and bake for about 50 minutes, or until a toothpick inserted into the center comes out clean. Let the zucchini bread cool in the pan for 5 minutes, then turn it out onto a wire rack to cool completely.
I also added about a cup of chopped walnuts to the batter.
I'm making this as I write this post. I'm baking it in a cast iron bread pan. I'll let you know later how it turns out, and if I had any unforeseen problems, etc.
Happy Baking!
Saturday, September 19, 2009
Multi-Grain Muffins
Recipe taken from Simple Vegetarian Pleasures by Jeanne Lemlin
Makes 12 muffins.
My note: it has a lot of ingredients, but the muffins are very much worth the time to mix and bake.
When you want a nutrient-packed muffin that's also moist and flavorful, choose these muffins for breakfast or a snack.
1 1/4 cups unbleached flour
1/4 cup whole wheat flour
1/2 cup quick oats
2 tbls toasted wheat germ or bran
2 tbls cornmeal
1 tbls baking powder
1 tsp cinnamon
1/2 tsp salt
1/2 cup raisins or chopped dates
1/4 cup finely chopped walnuts
1 small carrot, peeled and grated
1 medium apple, peeled and grated
1 egg
1/2 cup canola oil
1/2 cup honey
1 cup low-fat milk
1. Preheat oven to 400 degrees. Butter the tops and insides of a regular-size (1/3 cup) muffin pan.
2. In a large bowl combine all the ingredients up to and including the grated apple.
3. In another large bowl whisk the egg, oil, honey, and milk until the mixture is smooth. Mix in the dry ingredients and stir just until blended. Do not overbeat the batter. Let it sit undisturbed for 1 minute so the grains can absorb the liquid. Fill the prepared muffin cups with the batter. Bake 17 to 18 minutes, or until a knife inserted in the center of a muffin comes out clean. Serve warm or at room temperature, but not hot.
Easy No Knead Bread
Taken from the book A Family Raised on Sunshine by Beverly Nye pg. 54
Makes 4 large 9 x 5 loaves or 7 small loaves
In a large bowl, pour 5 cups warm water. Add 2 pkgs. dry yeast.
When yeast is dissolved, add:
8 tbsp sugar or honey
8 tbsp shortening
8 tsp salt
6 cups flour
Beat on high speed for 3 minutes, with a mixer.
Add:
6 more cups flour
Stir in with spoon. Let rise. Spoon into pans. Let rise again. Bake at 375 for 45 minutes in large pans, 30 minutes in small. Take from pans immediately, brush with butter, and let cool on racks.
Friday, September 18, 2009
Cuban Black Beans
This recipe is taken from the book Vegetarian Cooking for Dummies
by Suzanne Havala, M.S, R.D. pg. 203.
This recipe can be served over rice as an entree or thinned with vegetable broth, it can double as black bean soup.
Preparation time: 15 minutes
Cooking time: 50 minutes
Yield: 8 servings
1/4 olive oil
1 large onion, chopped
1 green bell pepper, chopped
2 stalks celery, including green leaves, chopped
4 garlic cloves, minced
4 cups (two 20-ounce cans) black beans, drained and rinsed (or 2 cups dried black beans, soaked or cooked in a pressure cooker)
2 tsp salt, or to taste
1 bay leaf
2 tsp ground cumin
1/2 tsp oregano
2 tbls lemon juice
1. In a large skillet, heat the olive oil. Cook the onions, green bell peppers, celery, and garlic in the oil over medium heat until the onions are translucent (about 10 minutes).
2. Add the beans, salt, bay leaf, cumin, oregano, and lemon juice and stir well to combine.
3. Cover and simmer for another 35 to 40 minutes, stirring occasionally to prevent sticking. Remove the bay leaf and serve over rice.
Per serving: Calories 195 (From Fat 63); Fat 7g (Saturated 1g); Cholesterol 0mg; Sodium 593mg; Carbohydrate 25g (Dietary Fiber 9g); Protein 8g.
Thursday, September 17, 2009
Bow-tie Pasta With Black-eyed Peas and Greens
This is a recipe much like Hoppin' John, but I make it year round rather than just at New Years.
12 oz bow-tie pasta
1 tsp salt or to taste
1 large onion
4 cloves garlic or to taste
2 tbsp olive oil
1/4 tsp crushed red pepper flakes
10 oz bag frozen black-eyed peas
10 to 16 oz chicken broth
Greens of your choice, washed, trimmed, coarsely chopped
Parmesan cheese
1. Bring large pot of water to a boil. Cook pasta about 7 minutes or until it is not quite tender. Drain and set aside.
2. Meanwhile, slice onion into thin slices and mince garlic. Heat olive oil in a wide skillet over medium-high heat. Add onion and garlic and cook until browning and fragrant, stirring often.
3. Add crushed pepper flakes, salt, and black-eyed peas to the skillet. Add chicken broth, bring to a boil, then simmer for about 25 minutes. The chicken broth should just cover the peas; if it doesn't add more liquid.
4. Uncover and simmer 5 minutes more. Add greens, cook until wilted. Add pasta and cook 2 minutes more. Remove from heat and toss with some of the cheese. Then serve in warmed bowls with grated parmesan cheese for the top.
Should serve 4 or more.
Happy Cooking
Sunday, September 6, 2009
Sourdough Bread Recipe
OK -- here is the bread recipe for the sourdough sponge that I wrote about yesterday. Unlike most sourdough sponges, you do use all of the sponge in this recipe for the bread.
So, take your fermented sponge and stir it down, then add 3 cups of flour (white or wheat or a mix) -- add 1 cup at a time until it all comes together being careful not to add too much flour and make the dough too stiff & dry. You can use a KitchenAid mixer to mix and knead the dough if you like. You would knead with the dough hook until the dough forms a ball on the hook, and is no longer very sticky. If you knead by hand, add enough flour so that it is no longer sticky, and when pinched a little, the dough feels like an earlobe. You'd knead by hand for about 10 minutes.
Grease a wooden, glass, or stoneware bowl, put the dough in, then turn over the dough so that the greased side is up. Cover the bowl with plastic wrap and/or with a towel. If you like, while you're kneading the dough, turn your oven on to 150 degrees and let it warm. Place the bowl with the dough into the oven and leave the oven at 150 degrees, also, you can place a shallow pan of water in the warmed oven to aid in the dough rising. Let the dough rise about 60 to 90 minutes until double in size. Punch down, and divide the dough into two 8 x 4 inch bread pans (cast iron bread pans work great), cover with a towel and return to the warm oven. Let rise until double, which will take about 60 minutes.
Take the bread pans out of the oven as well as the shallow pan of water if using, and preheat the oven to 425 degrees. You can leave the dough loaves as is, or you can take a very sharp knife and make 3 shallow diagonal slices on the top of the loaves so that the tops don't crack while baking. This is just optional. Place the bread into the oven when it is heated up, close the door of the oven, wait 15 seconds, open the oven door and spritz a little water onto the floor of the oven, close the door, wait 30 seconds and repeat with another spritz of water. This will give the crust a texture of French bread when finished baking. Bake the bread for about 35 to 40 minutes, checking at about that time to see if it's done. Rap on the loaves and if they sound hollow and are browned, then they are done. Remove bread from pans immediately, and place on a rack for cooling, and cover with a towel.
Hopefully soon I'll get my digital camera up and rolling and be able to post some pix of when I make this bread and other recipes.
Happy Bread Making!
Saturday, September 5, 2009
Sourdough Starter and recipe
Here is a sourdough starter recipe that I have tweaked for my own uses. Tomorrow I will give the sourdough bread recipe.
2 Cups warm water
1 tbsp dry active yeast
1 tbsp sugar
1 tbsp salt
3 Cups flour (white or wheat or a mix of both)
Before putting the 2 C of water in the bowl, let the bowl fill a little with very warm water, and fill up your measuring cup with warm water and let sit for a few minutes. This will allow the 2 C of warm water for the mix to not cool down too much.
OK - measure your 2 C of warm water into the empty bowl, put in the tbsp of yeast, and the tbsp of sugar. Let sit for 5 to 7 minutes until the yeast activates and becomes foamy.
In another bowl, whisk together the 1 tbsp of salt and the 3 C of flour. Then put the dry ingredients with the wet ingredients and whisk together into a sponge. Cover the bowl with plastic wrap and a towel and sit it in a warm area of your home to sour. Alternatively you can put the sponge in a large jar, place a piece of cheese cloth or an old t-shirt rag overtop and secure with a rubber band or canning jar band. This will allow air to get to it to ferment. Let the sponge sit for 24 hours or up to 5 days to sour. Each day stir the sponge down, as liquid will normally form on top, and a thick flour/water mix on the bottom.
Tomorrow I'll continue with the bread recipe you can use the sponge for.
Happy Baking.
Subscribe to:
Comments (Atom)